Skip to main contentAccessing Members
To view workspace members:
- Open the workspace.
- Click on Manage from the left sidebar.
- Select Members.
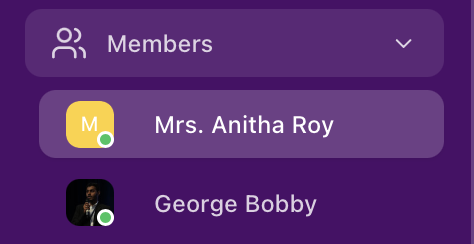
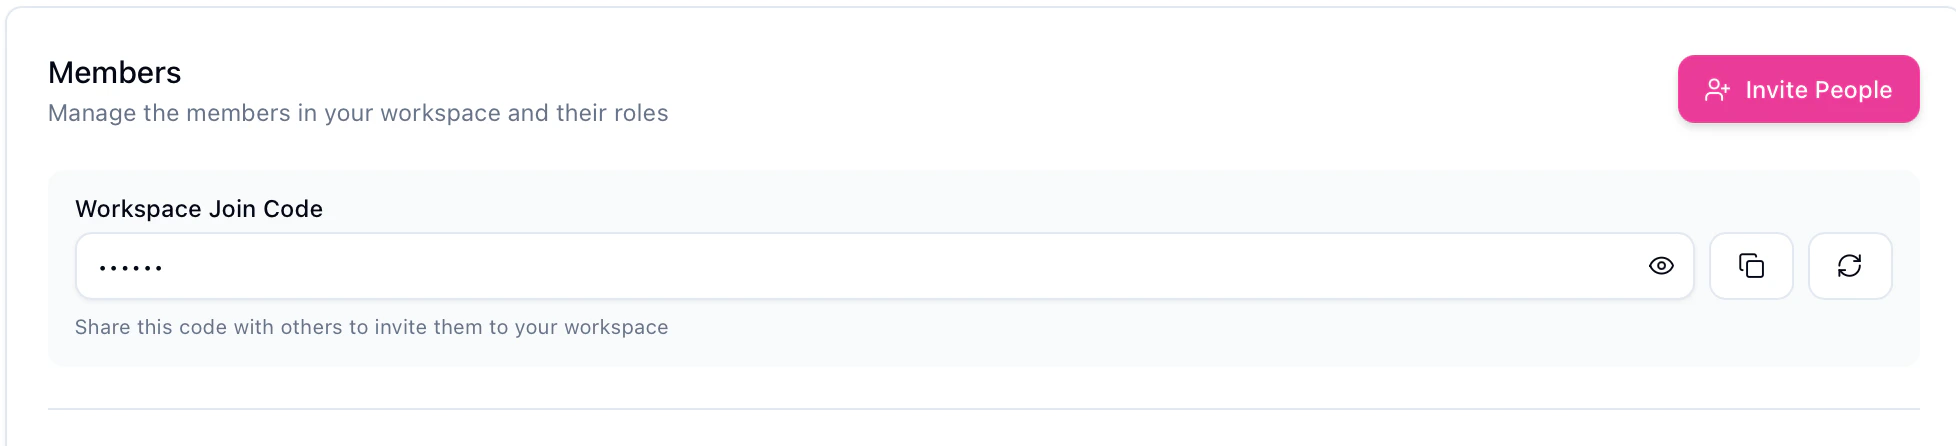
The Members page will display a list of all users currently part of the workspace
Adding Members
Accessing the Invite Option
To invite members:
- Open the workspace.
- Click on Manage from the left sidebar.
- Select Members.
- Click on the Invite People button.
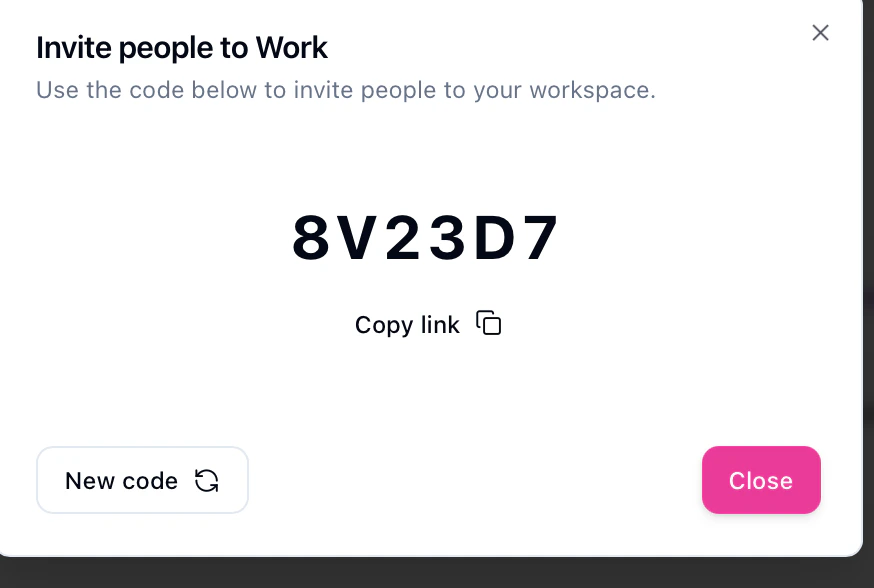
- An invite dialog box will appear with link and code
- Copy the workspace join code and invite link.
- Share the code and link with the person you want to invite.
Once the recipient uses the code or link, they will be added to the workspace automatically.
Removing a Member
To remove a member from the workspace:
- Navigate to Manage → Members.
- Locate the member you want to remove.
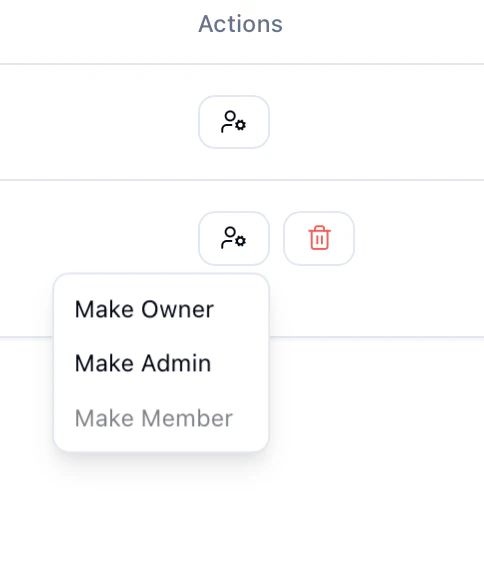
- Click on the delete (trash) icon next to the member.
- Confirm the action (if prompted).
The member will lose access to the workspace immediately.
Changing a Member’s Role
To change a member’s role:
- Open the workspace.
- Navigate to Manage → Members.
- Locate the member whose role you want to change.
- Click on the role/action menu next to the member.
- Select one of the available options:
- Make Owner
- Make Admin
- Make Member
The selected role will be applied immediately.
Starting a Direct Message
To start a direct message with a member:
- Locate the Members list in the left sidebar.
- Click on the member’s name you want to message.
- A direct message chat will open automatically.
You can now send messages to the selected member.