Skip to main contentTo create a canvas:
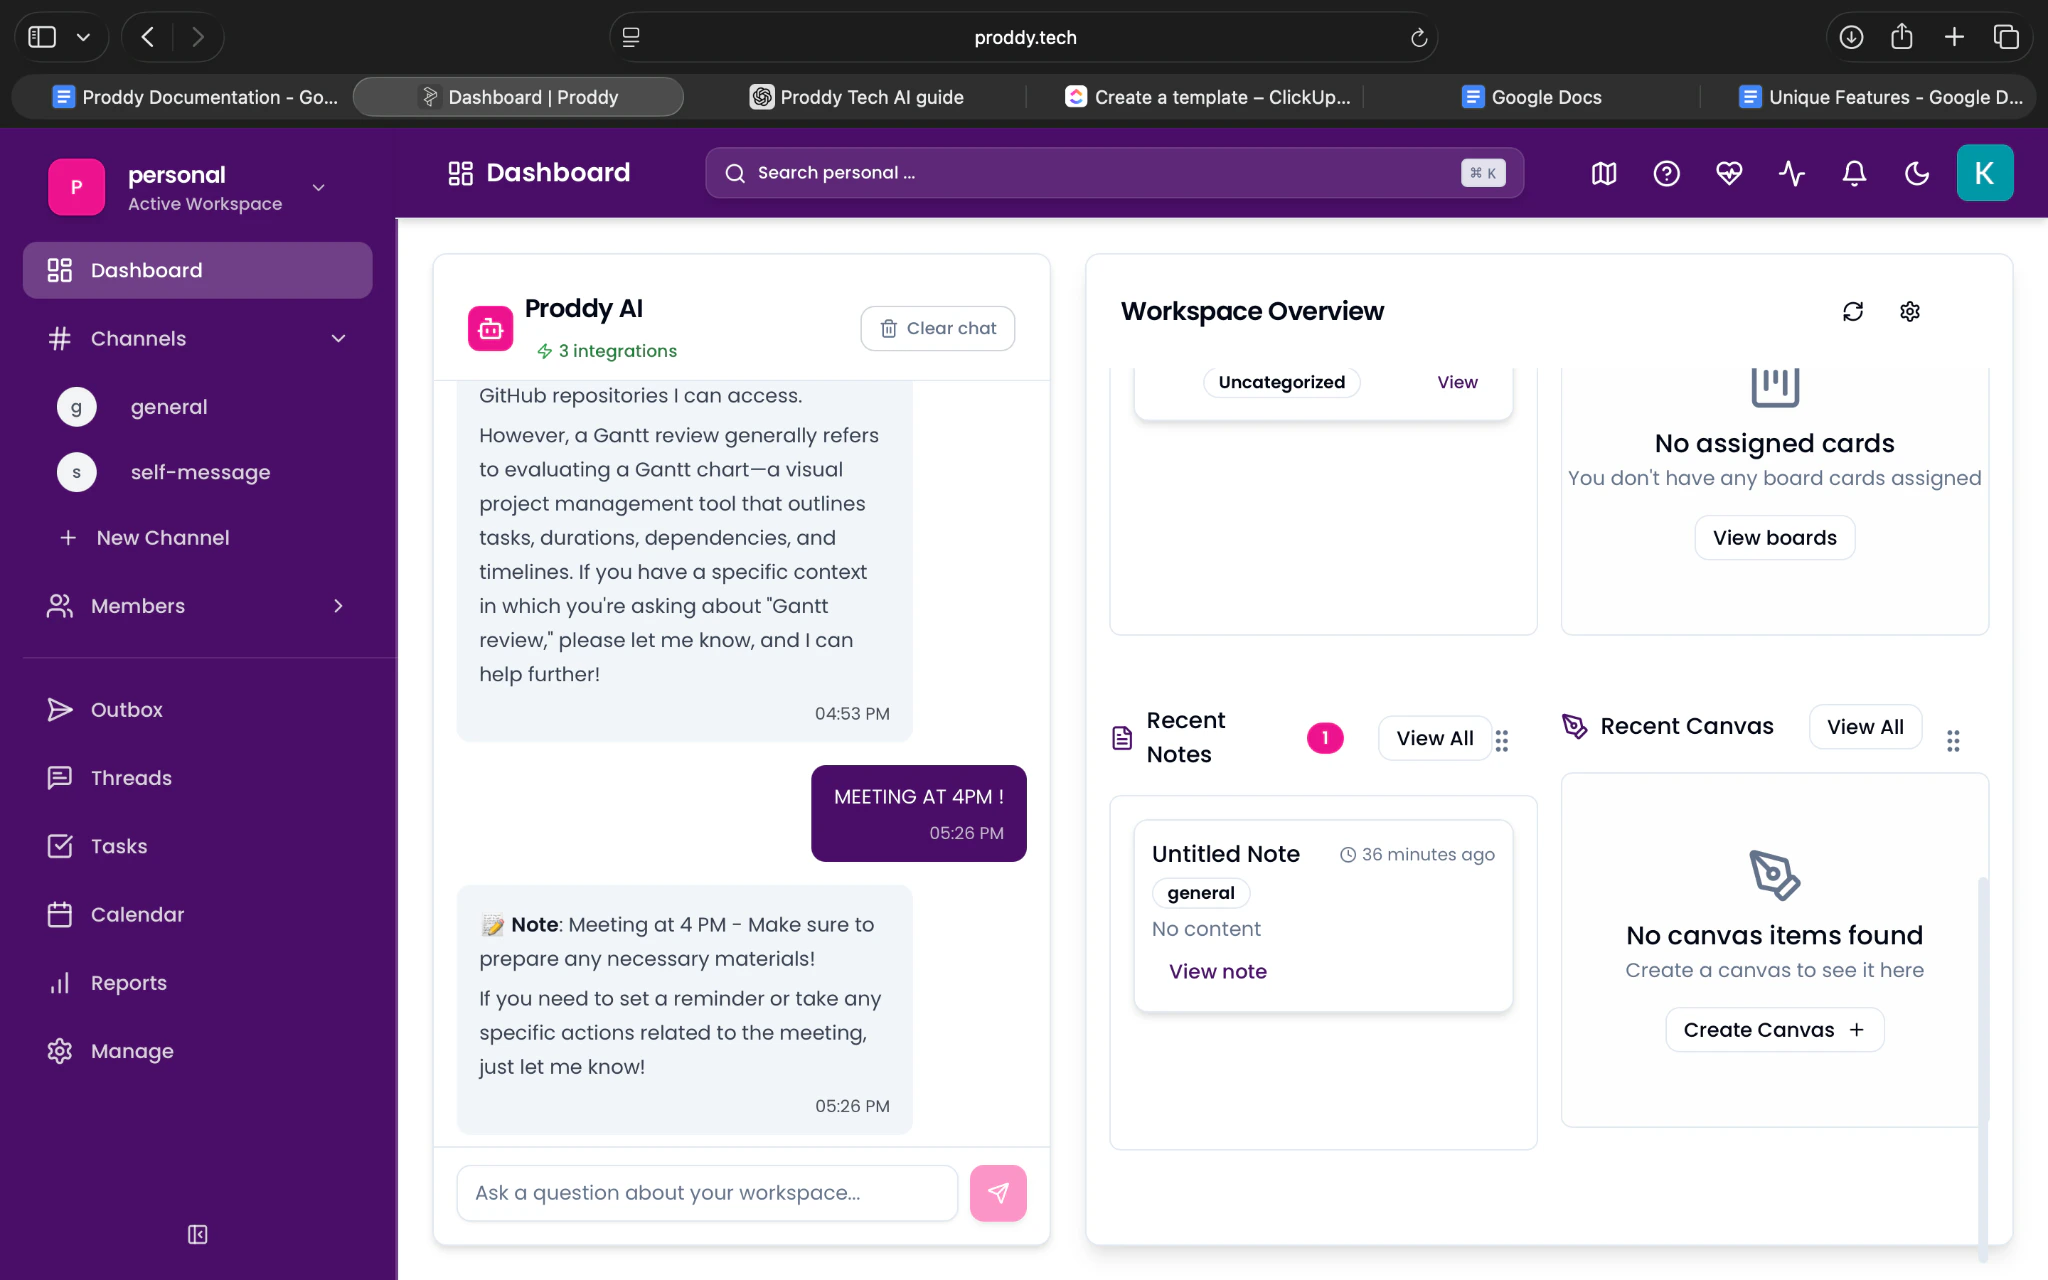
- Open the Dashboard by clicking on the Dashboard button on the top left corner.
- In the Workspace Overview, scroll down to the bottom.
- You will see Recent Canvas.
- Click on Create canvas.
- The canvas will be created and opened automatically.
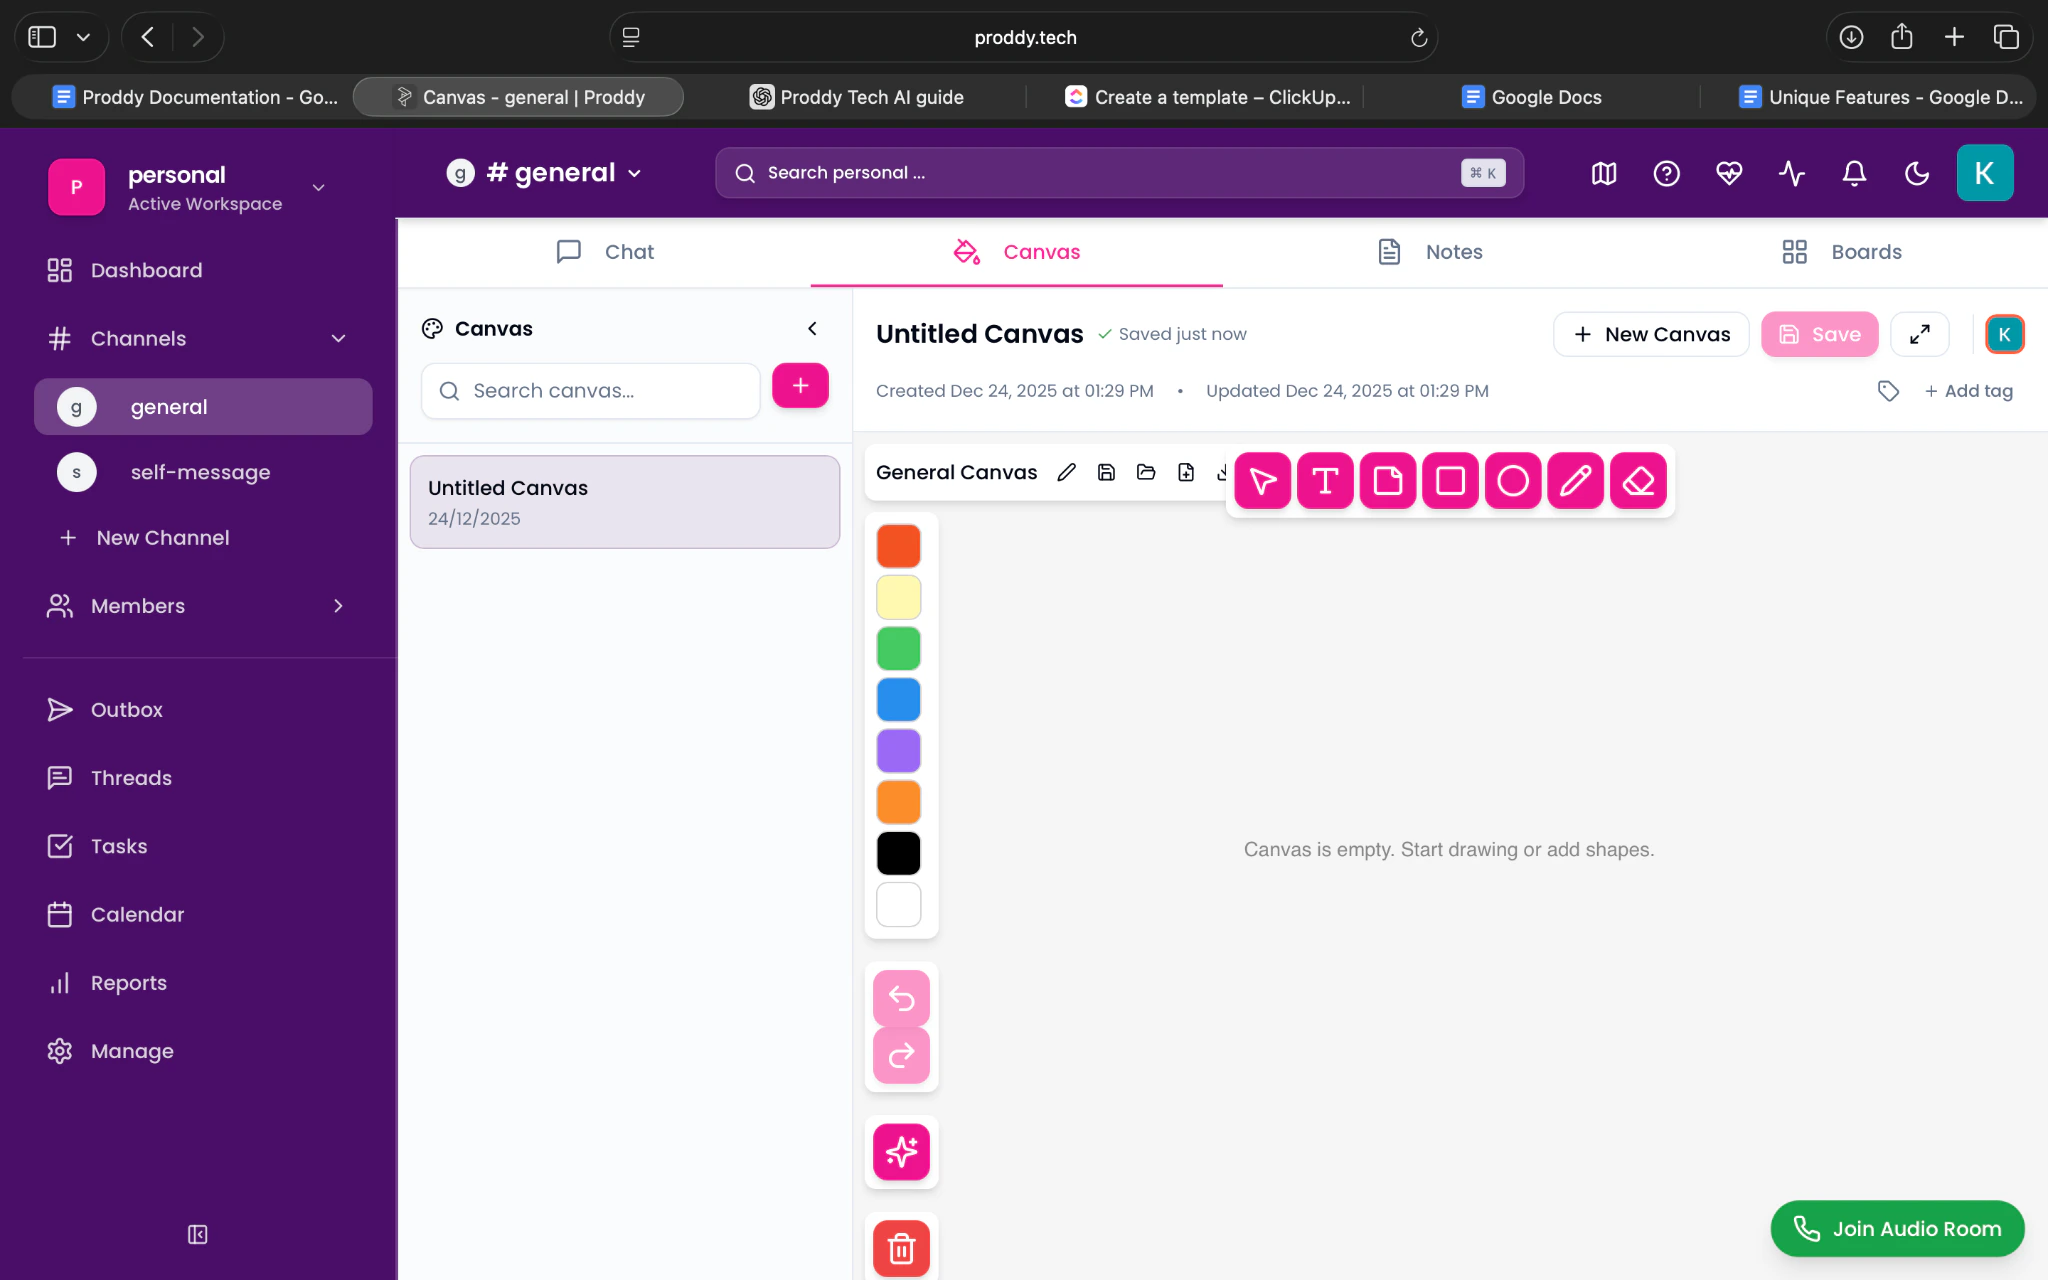
Opening an Existing Canvas
To open an existing canvas:
- Go to the general channel from the left sidebar.
- Click on Canvas in the top bar.
- Click on the canvas you want to open from the list on the left
Writing and Editing in a Canvas
To write or edit content in a canvas:
- Open an existing canvas.
- Click anywhere on the canvas workspace.
- Start typing text directly on the canvas.
- You can move, resize, or reposition text elements as needed.
Moving and Resizing Content
To move or resize content in a canvas:
- Click on a text block or element.
- Drag it to reposition it anywhere on the canvas.
- Use the corners or edges of the block to resize it.
This allows flexible layout and visual organisation.
Adding Elements to a Canvas
To add elements to a canvas:
- Open a canvas.
- Click on the “+” or the canvas toolbar (if available).
- Add elements such as:
- Text blocks
- Shapes
- Lines or connectors
- Drag and place elements freely on the canvas.
Collaborating on a Canvas
To collaborate on a canvas:
- Open the canvas you want to collaborate on.
- Ensure other users have access to the workspace.
- Multiple users can view and edit the canvas at the same time.
- Changes made by collaborators appear in real time.
Renaming a Canvas
To rename a canvas:
- Go to the general channel from the left sidebar.
- Click on Canvas in the top bar.
- Hover over the canvas you want to rename.
- Click on the three dots ( … ) next to the canvas name.
- Select Rename.
- Enter the new name for the canvas.
Deleting a Canvas
To delete a canvas:
- Go to the general channel from the left sidebar.
- Click on Canvas in the top bar.
- Hover over the canvas you want to delete.
- Click on the three dots ( … ).
- Select Delete.
The canvas will be permanently removed.
Exporting a Canvas
To export a canvas:
- Open the canvas you want to export.
- Click on the Export option (if available).
- Choose the required format (for example, PNG or PDF).
- Download the exported file.
Organising Canvases
To keep canvases organised:
- Navigate to Canvas from the top bar.
- Rename canvases clearly based on their purpose.
- Use separate canvases for different topics or projects.
- Delete canvases that are no longer required.
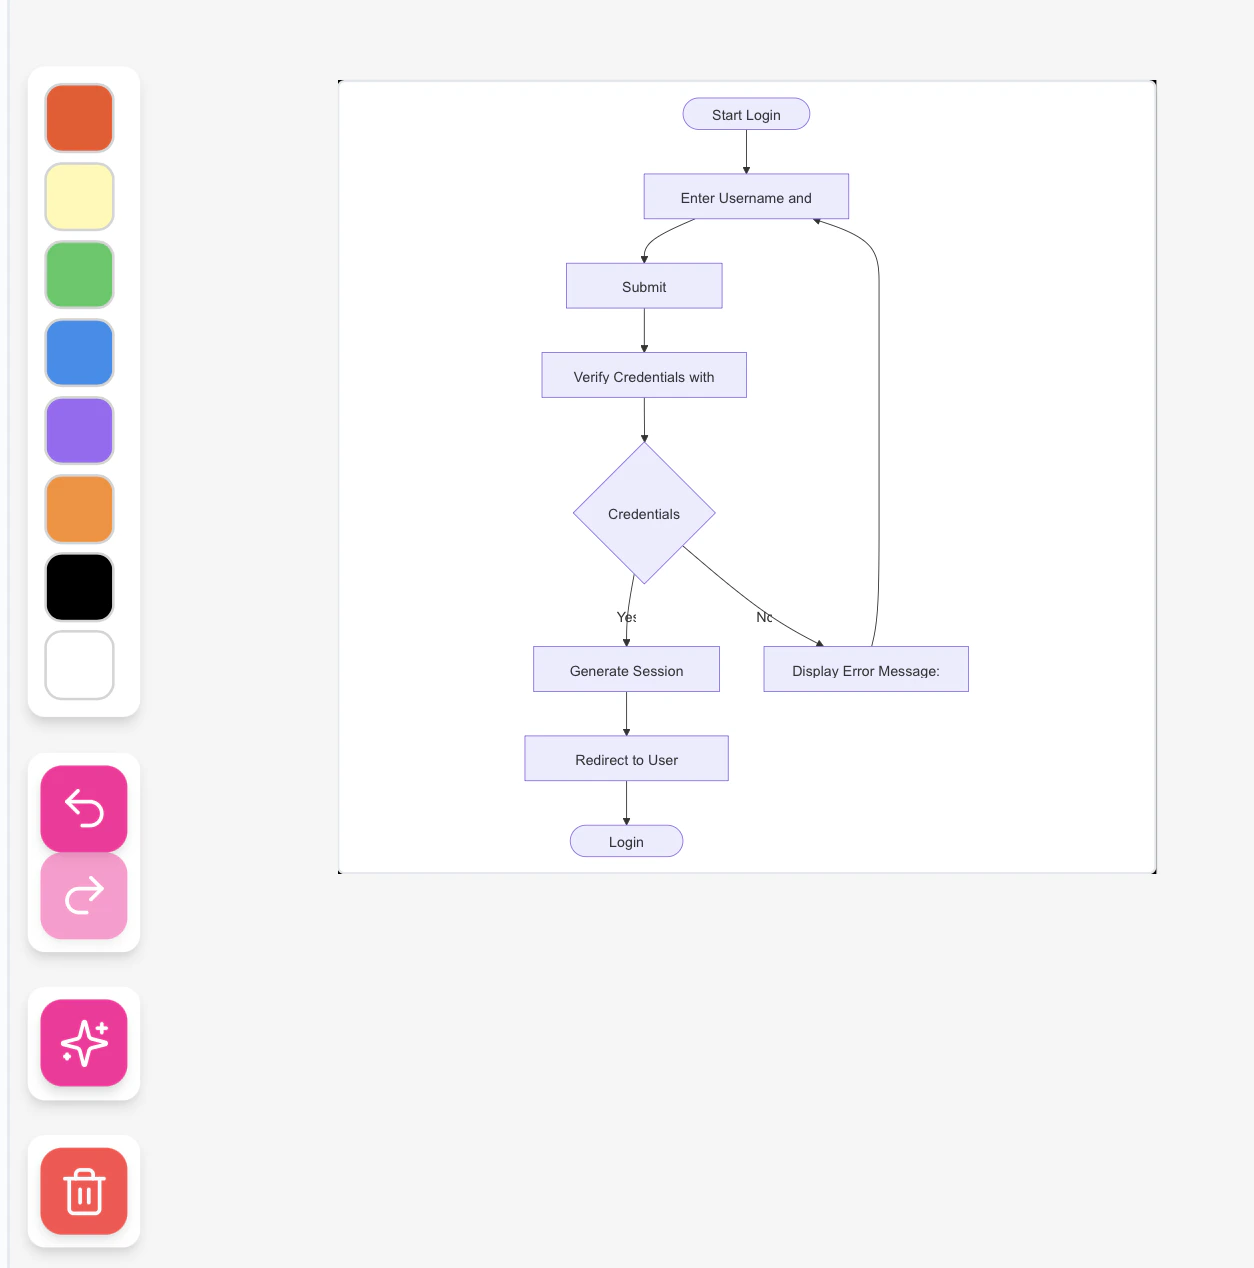
Generating AI Flowcharts in Canvas
Canvas allows users to automatically generate flowcharts using AI, making it easy to visualize processes, workflows, and logic diagrams.
Creating an AI-Generated Flowchart
To generate a flowchart using AI:
- Open a channel and navigate to the Canvas tab.
- Open an existing canvas or create a new one.
- Locate the AI Generate icon in the vertical toolbar on the left side of the canvas
(the icon located above the delete/garbage icon).
- Click on the AI Generate icon.
- Enter a prompt describing the flowchart you want to create.
- Confirm the action to generate the flowchart.
The AI-generated flowchart will appear directly on the canvas. 
